How to Start your own Sourdough Journey
Materials Needed:
Mason jars
Bread flour (I personally use King Arthur)
4 quart bowl
Bread spatula
Razor blade or lame (for scoring)
Linen towel
Bannetons/proofing baskets
Digital scale
Digital thermometer
Bench knife/pastry scraper
Baking vessel (I personally use Lodge’s 7 Quart Cast Iron Dutch Oven)
How to Build your Starter:
If you have bought my dehydrated started, follow the recipe on the pack :)
I have had great success with following Heather’s Recipe from Leavenly.
FIRST REMEMBER TO BE EXTREMELY PATIENT - My first starter took 15 days to be ready!
The climate of your home has everything to do with how your starter will react. If you have another starter nearby, it may pick up on the natural yeast bacteria in the air and be ready even quicker than any others. If you cook often and your house is warmer, that may also shorten how long it takes to be completely activated.
Starter Recipe:
100 grams warm water (roughly 80°F)
50 grams whole wheat flour
50 grams bread flour
(I choose organic for both options)
Instructions:
Name your starter! Take Notes! I used a good ol’ fashioned pen and paper and wrote down the time of each feed and wrote down anything worthy of noticing like some bubbles or activity that’s happened since the previous feed, any new smells like beer, or nuts, etc.
Mix all ingredients listed above in a mason jar and be sure all the flour is hydrated thoroughly with the water - stir well, and let sit for 24 hours.
After 24 hours, you will want to discard most of your “starter”. By doing so, take out 25 grams of your new growing starter and put it in a new jar.
Mix in:
50 g of warm filtered water
25 g of whole-wheat flour
25 g of bread flour
3. The starter from day 1 will start to activate the new added flour and water.
Whatever is left in your original jar is now called your discard. You can create a discard jar to use for other recipes that you can store in the fridge. Or simply just toss it and clean out your jar.
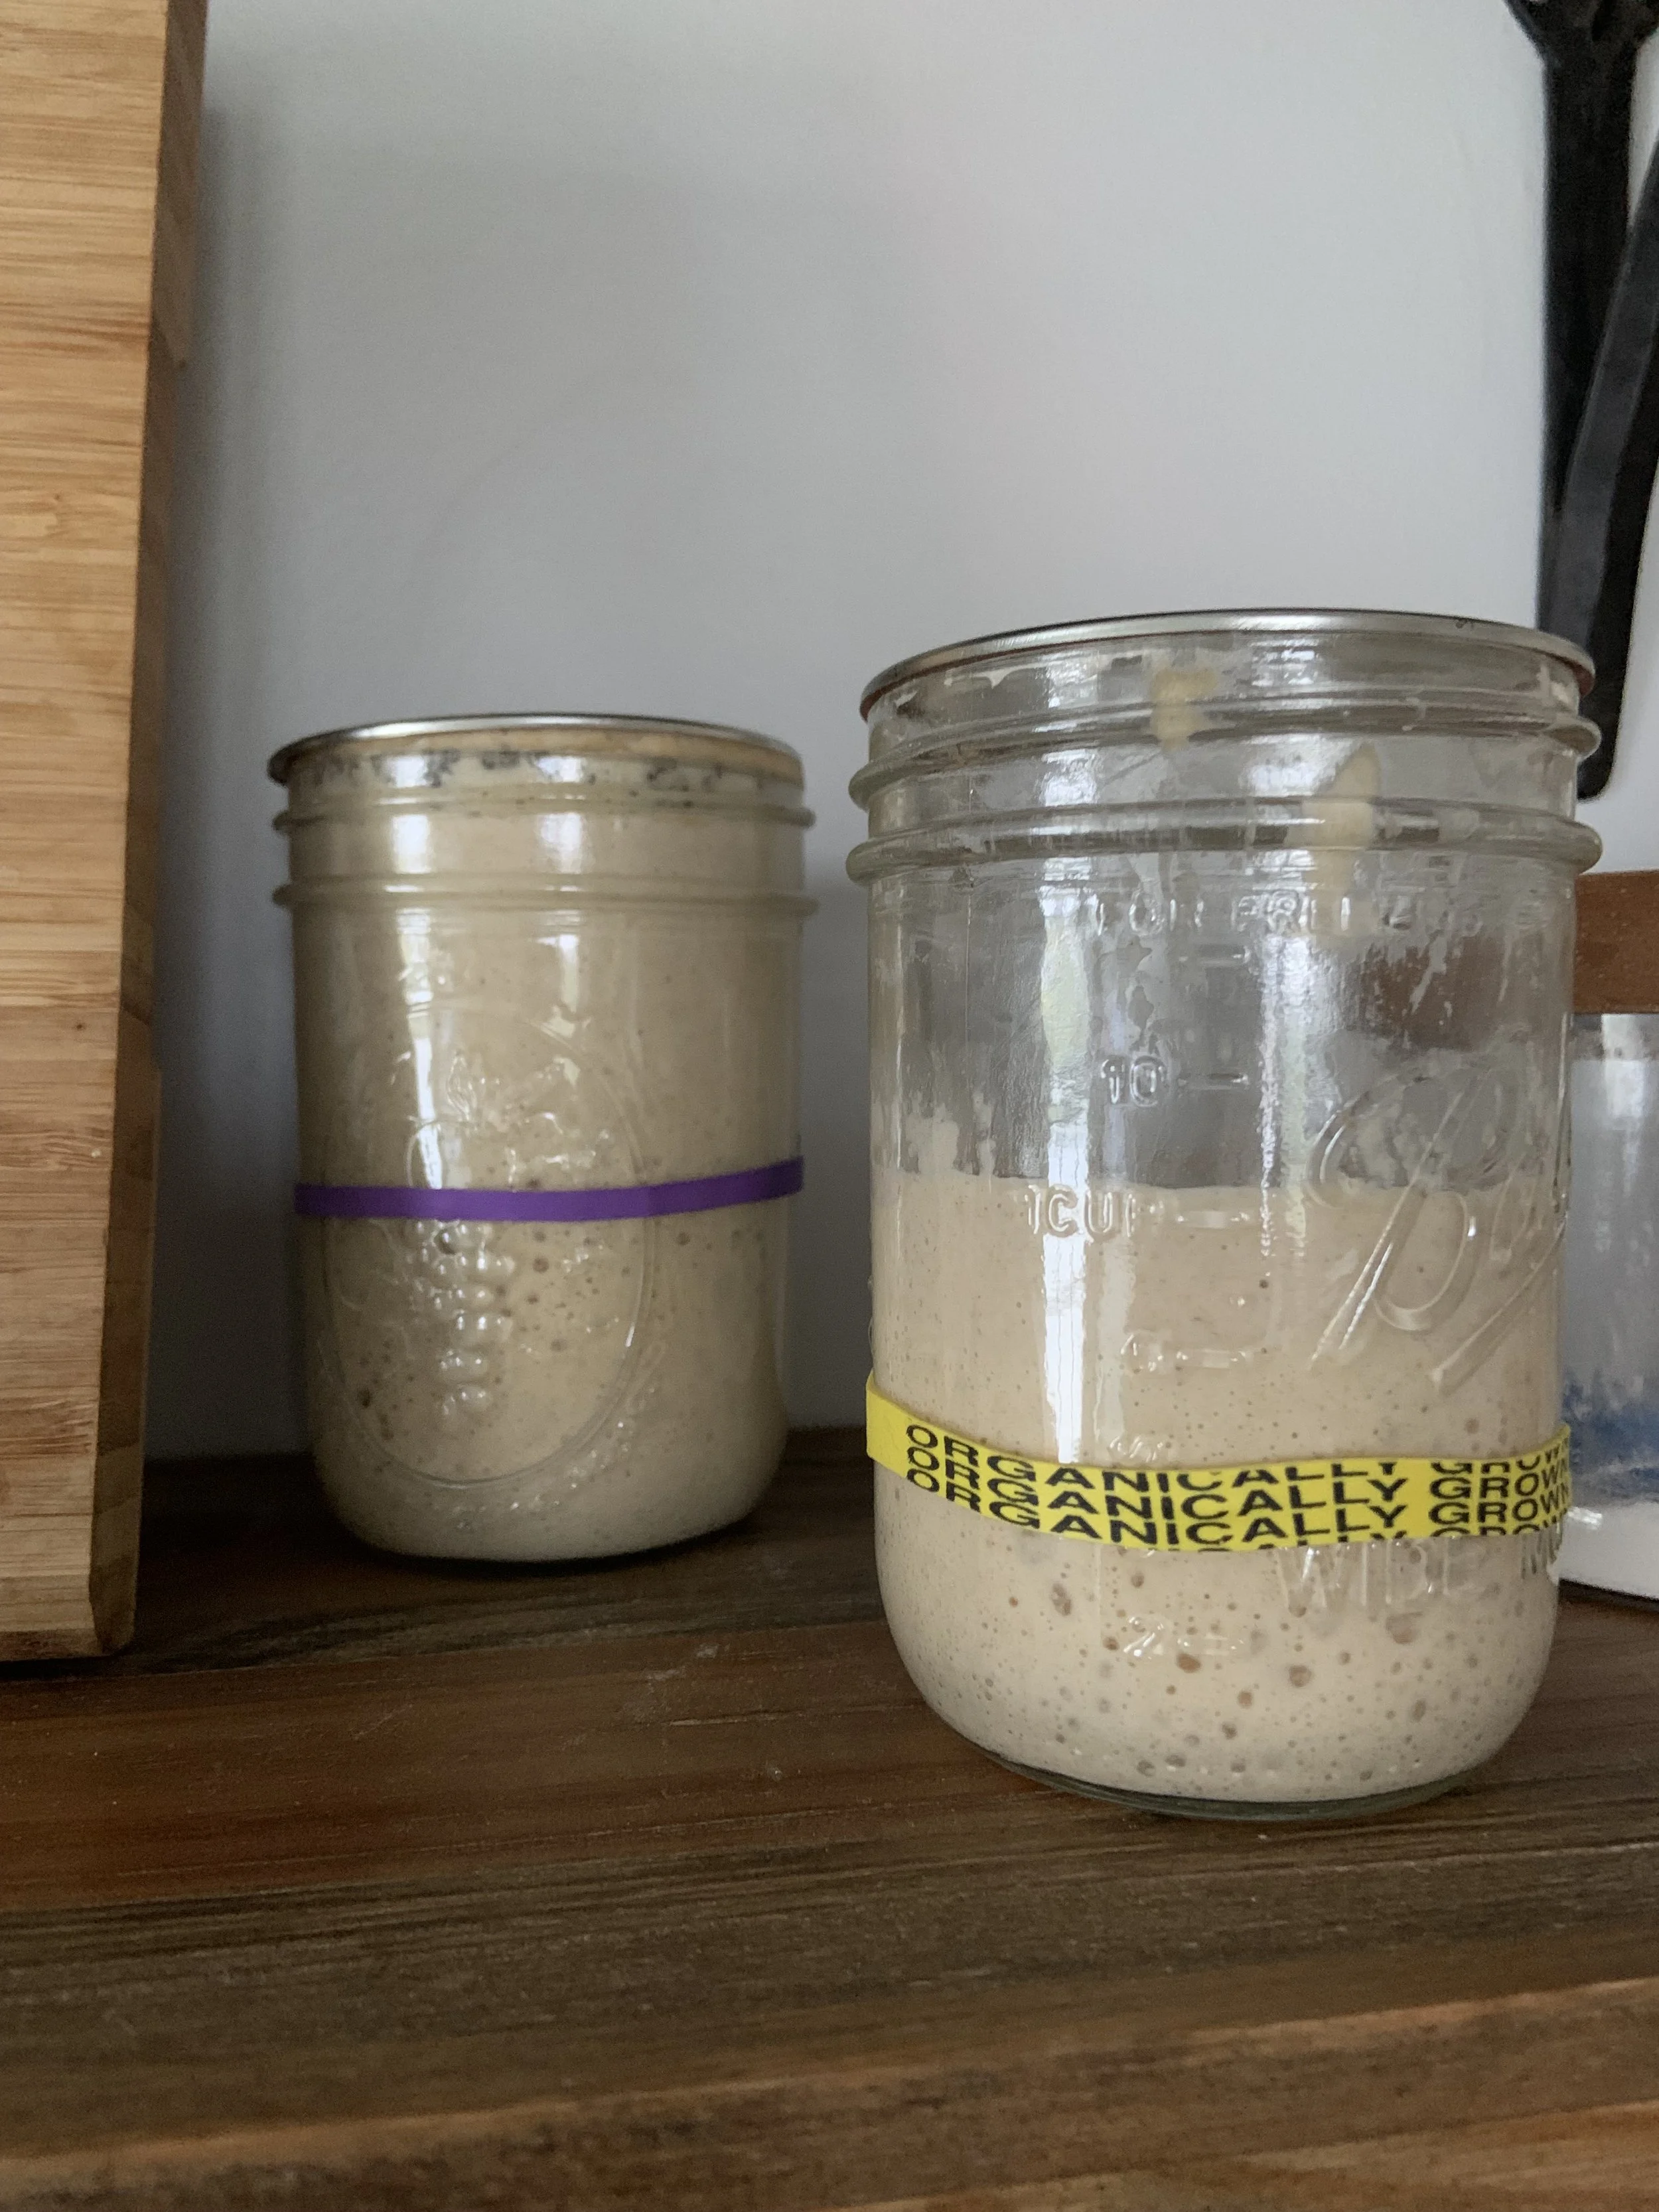
4. Cover your jar with a lid, but do not keep it tight. I use the inner lid of the masor jar lid without the ring and just let it sit so gases can escape. This will prevent a ton of “hooch” accumulating on top of your starter. If it happens, it is no big deal, just drain off the top. It is naturally occurring alcohol.
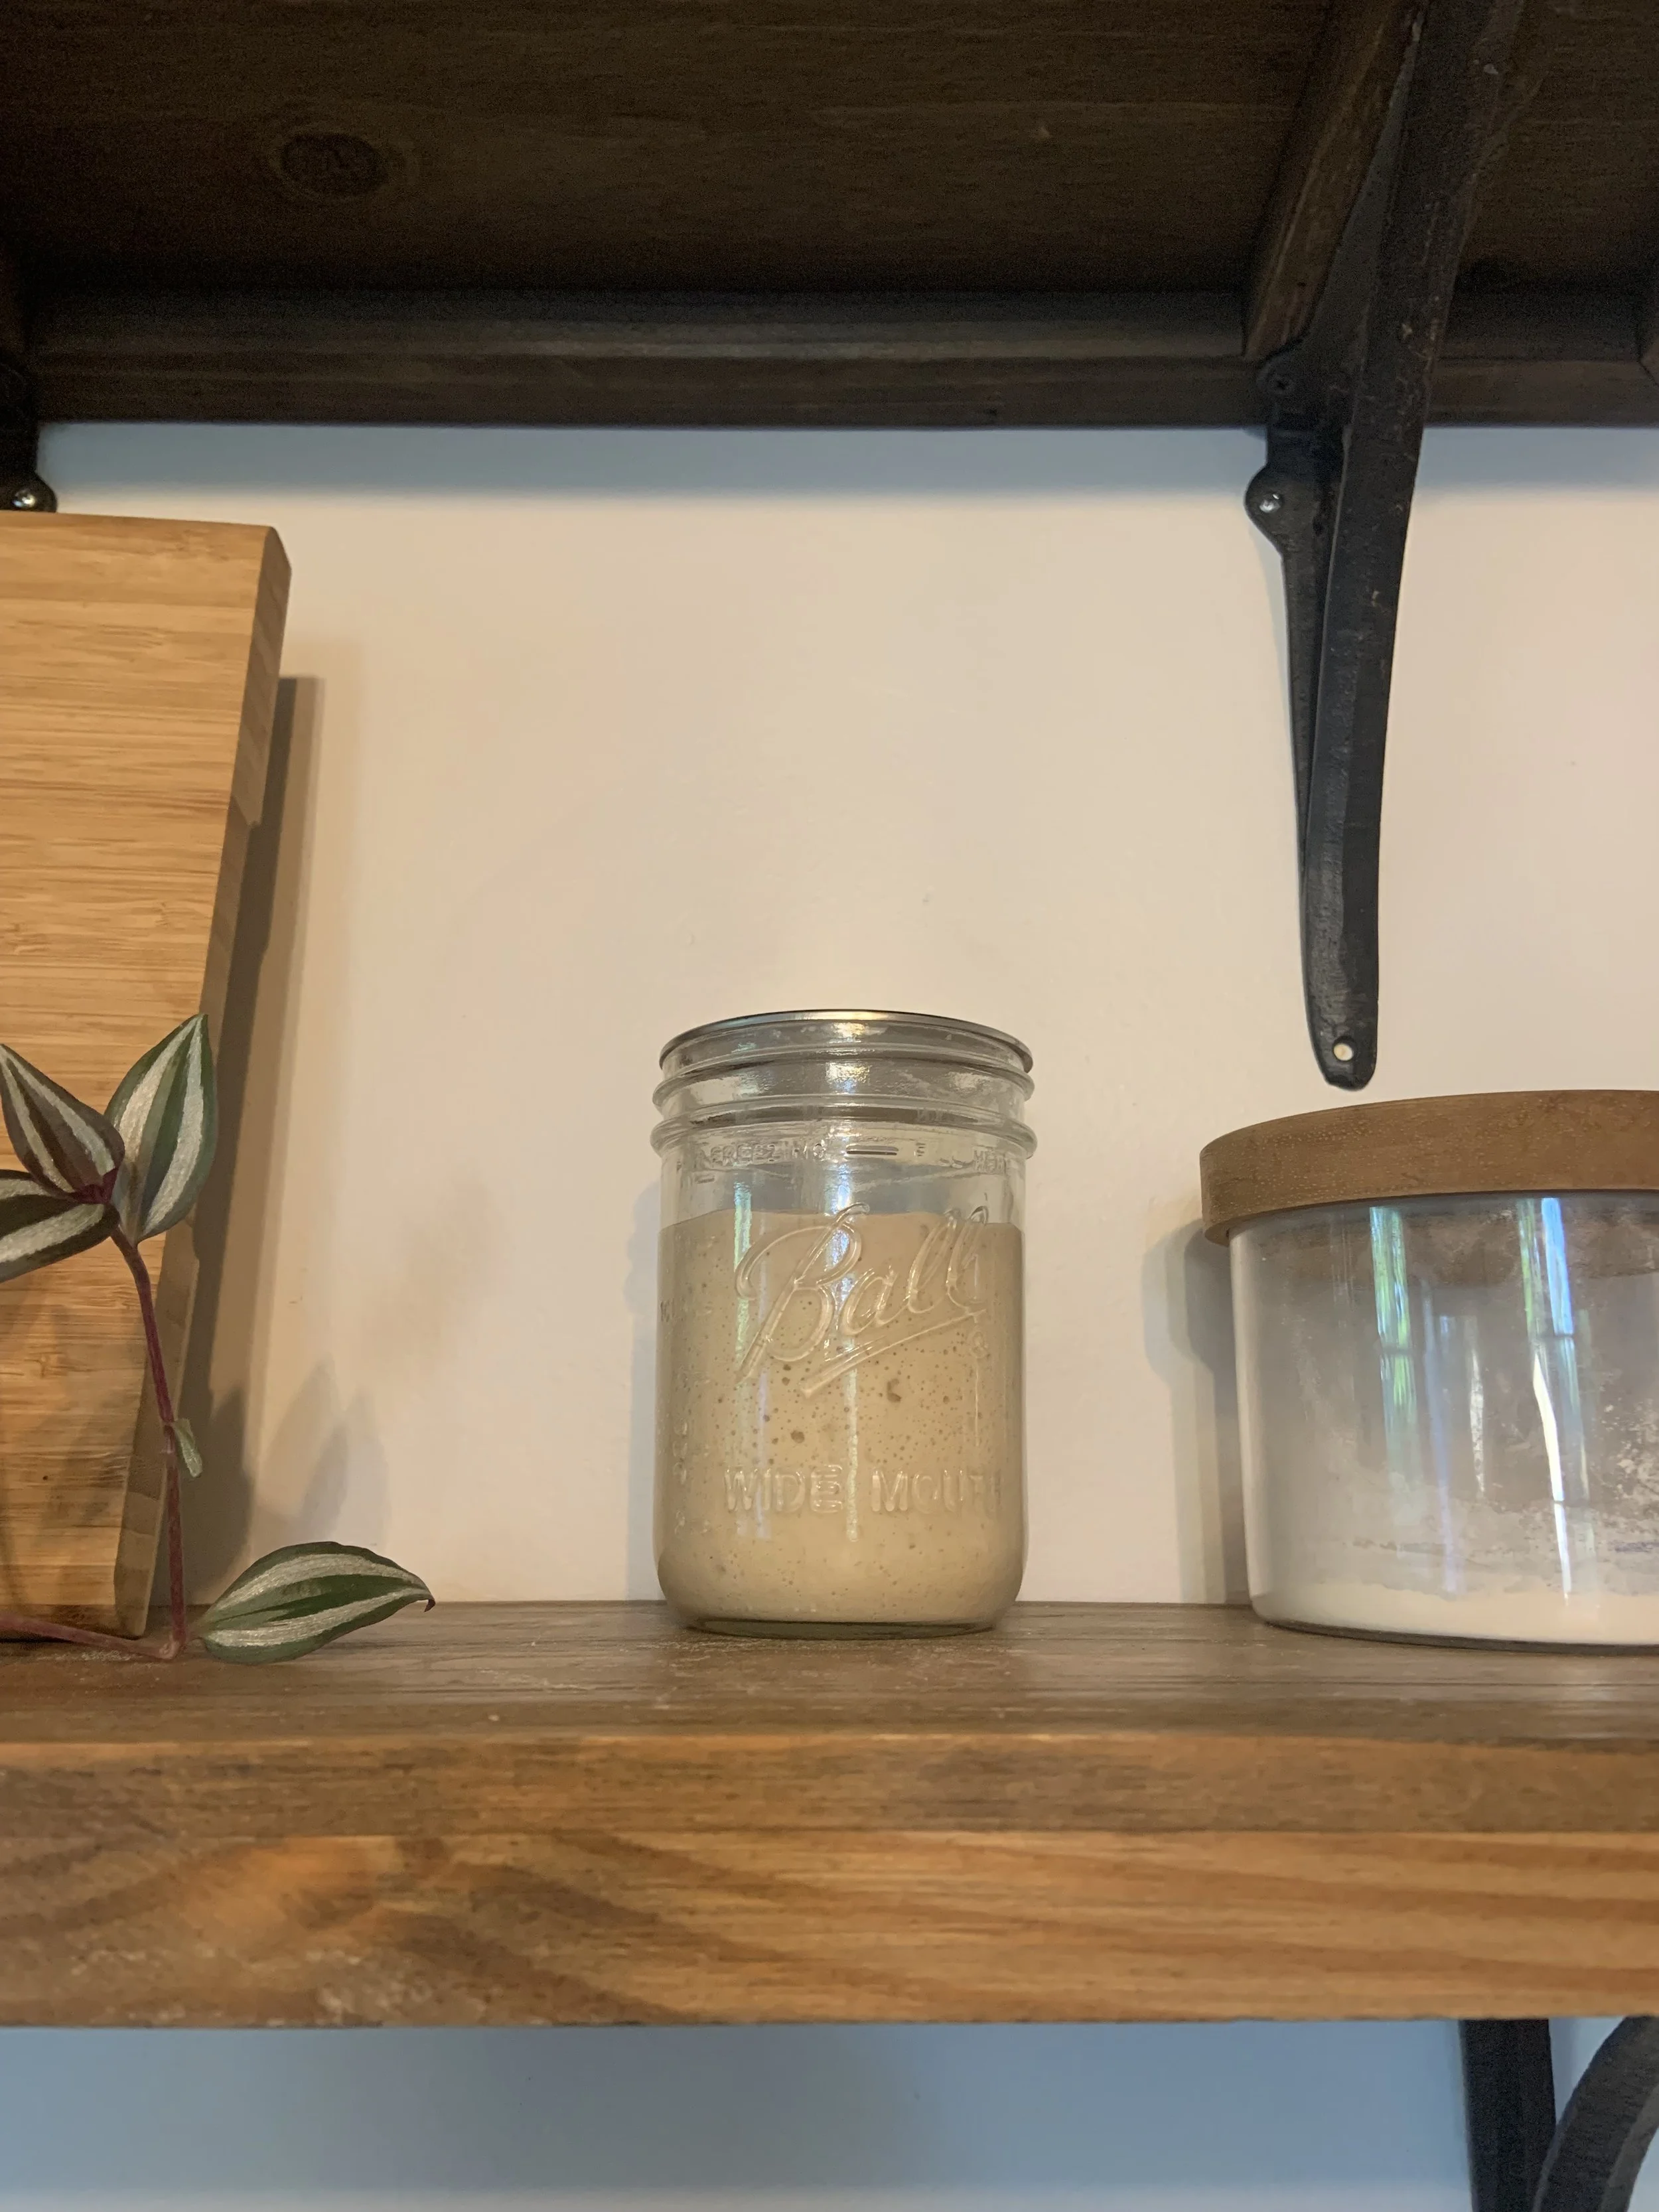
5. Place a rubber band around the jar to measure if your starter is rising or not. Store in a warm dry place.
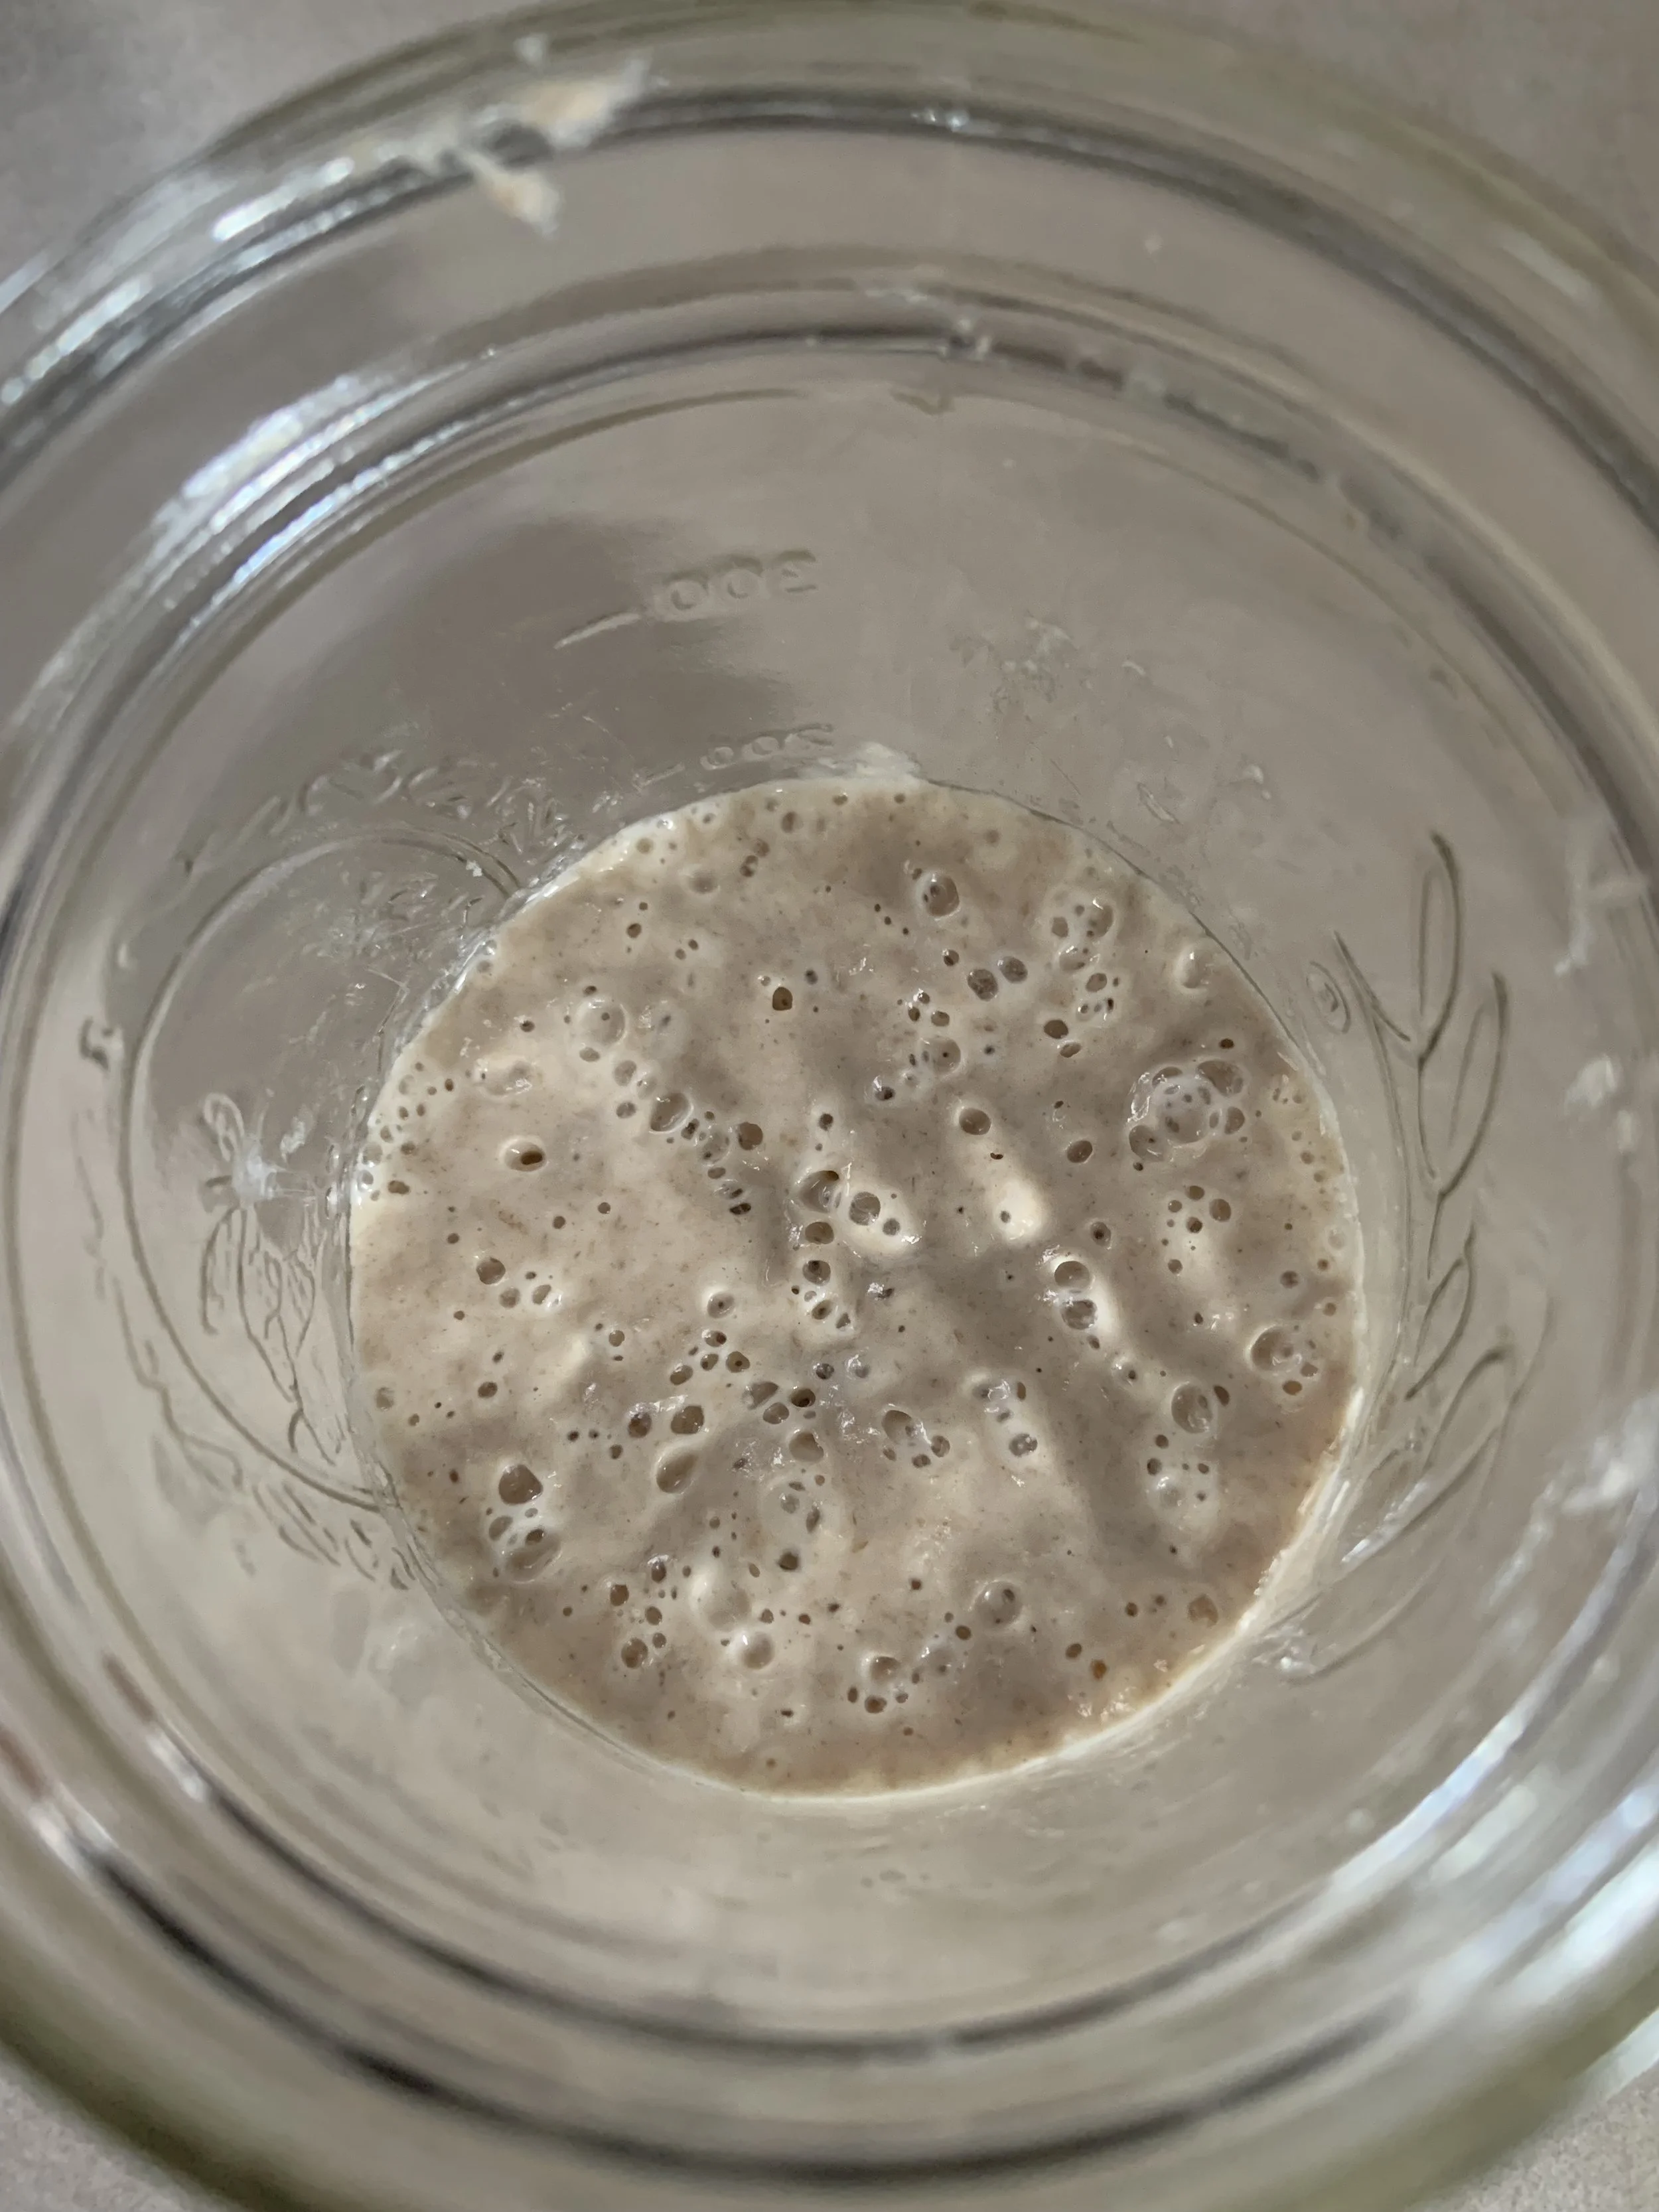
6. Day 3 smells a bit like beer or alcohol most times. Within the next 4-7 days the smell before each feed will start to get a bit sour.
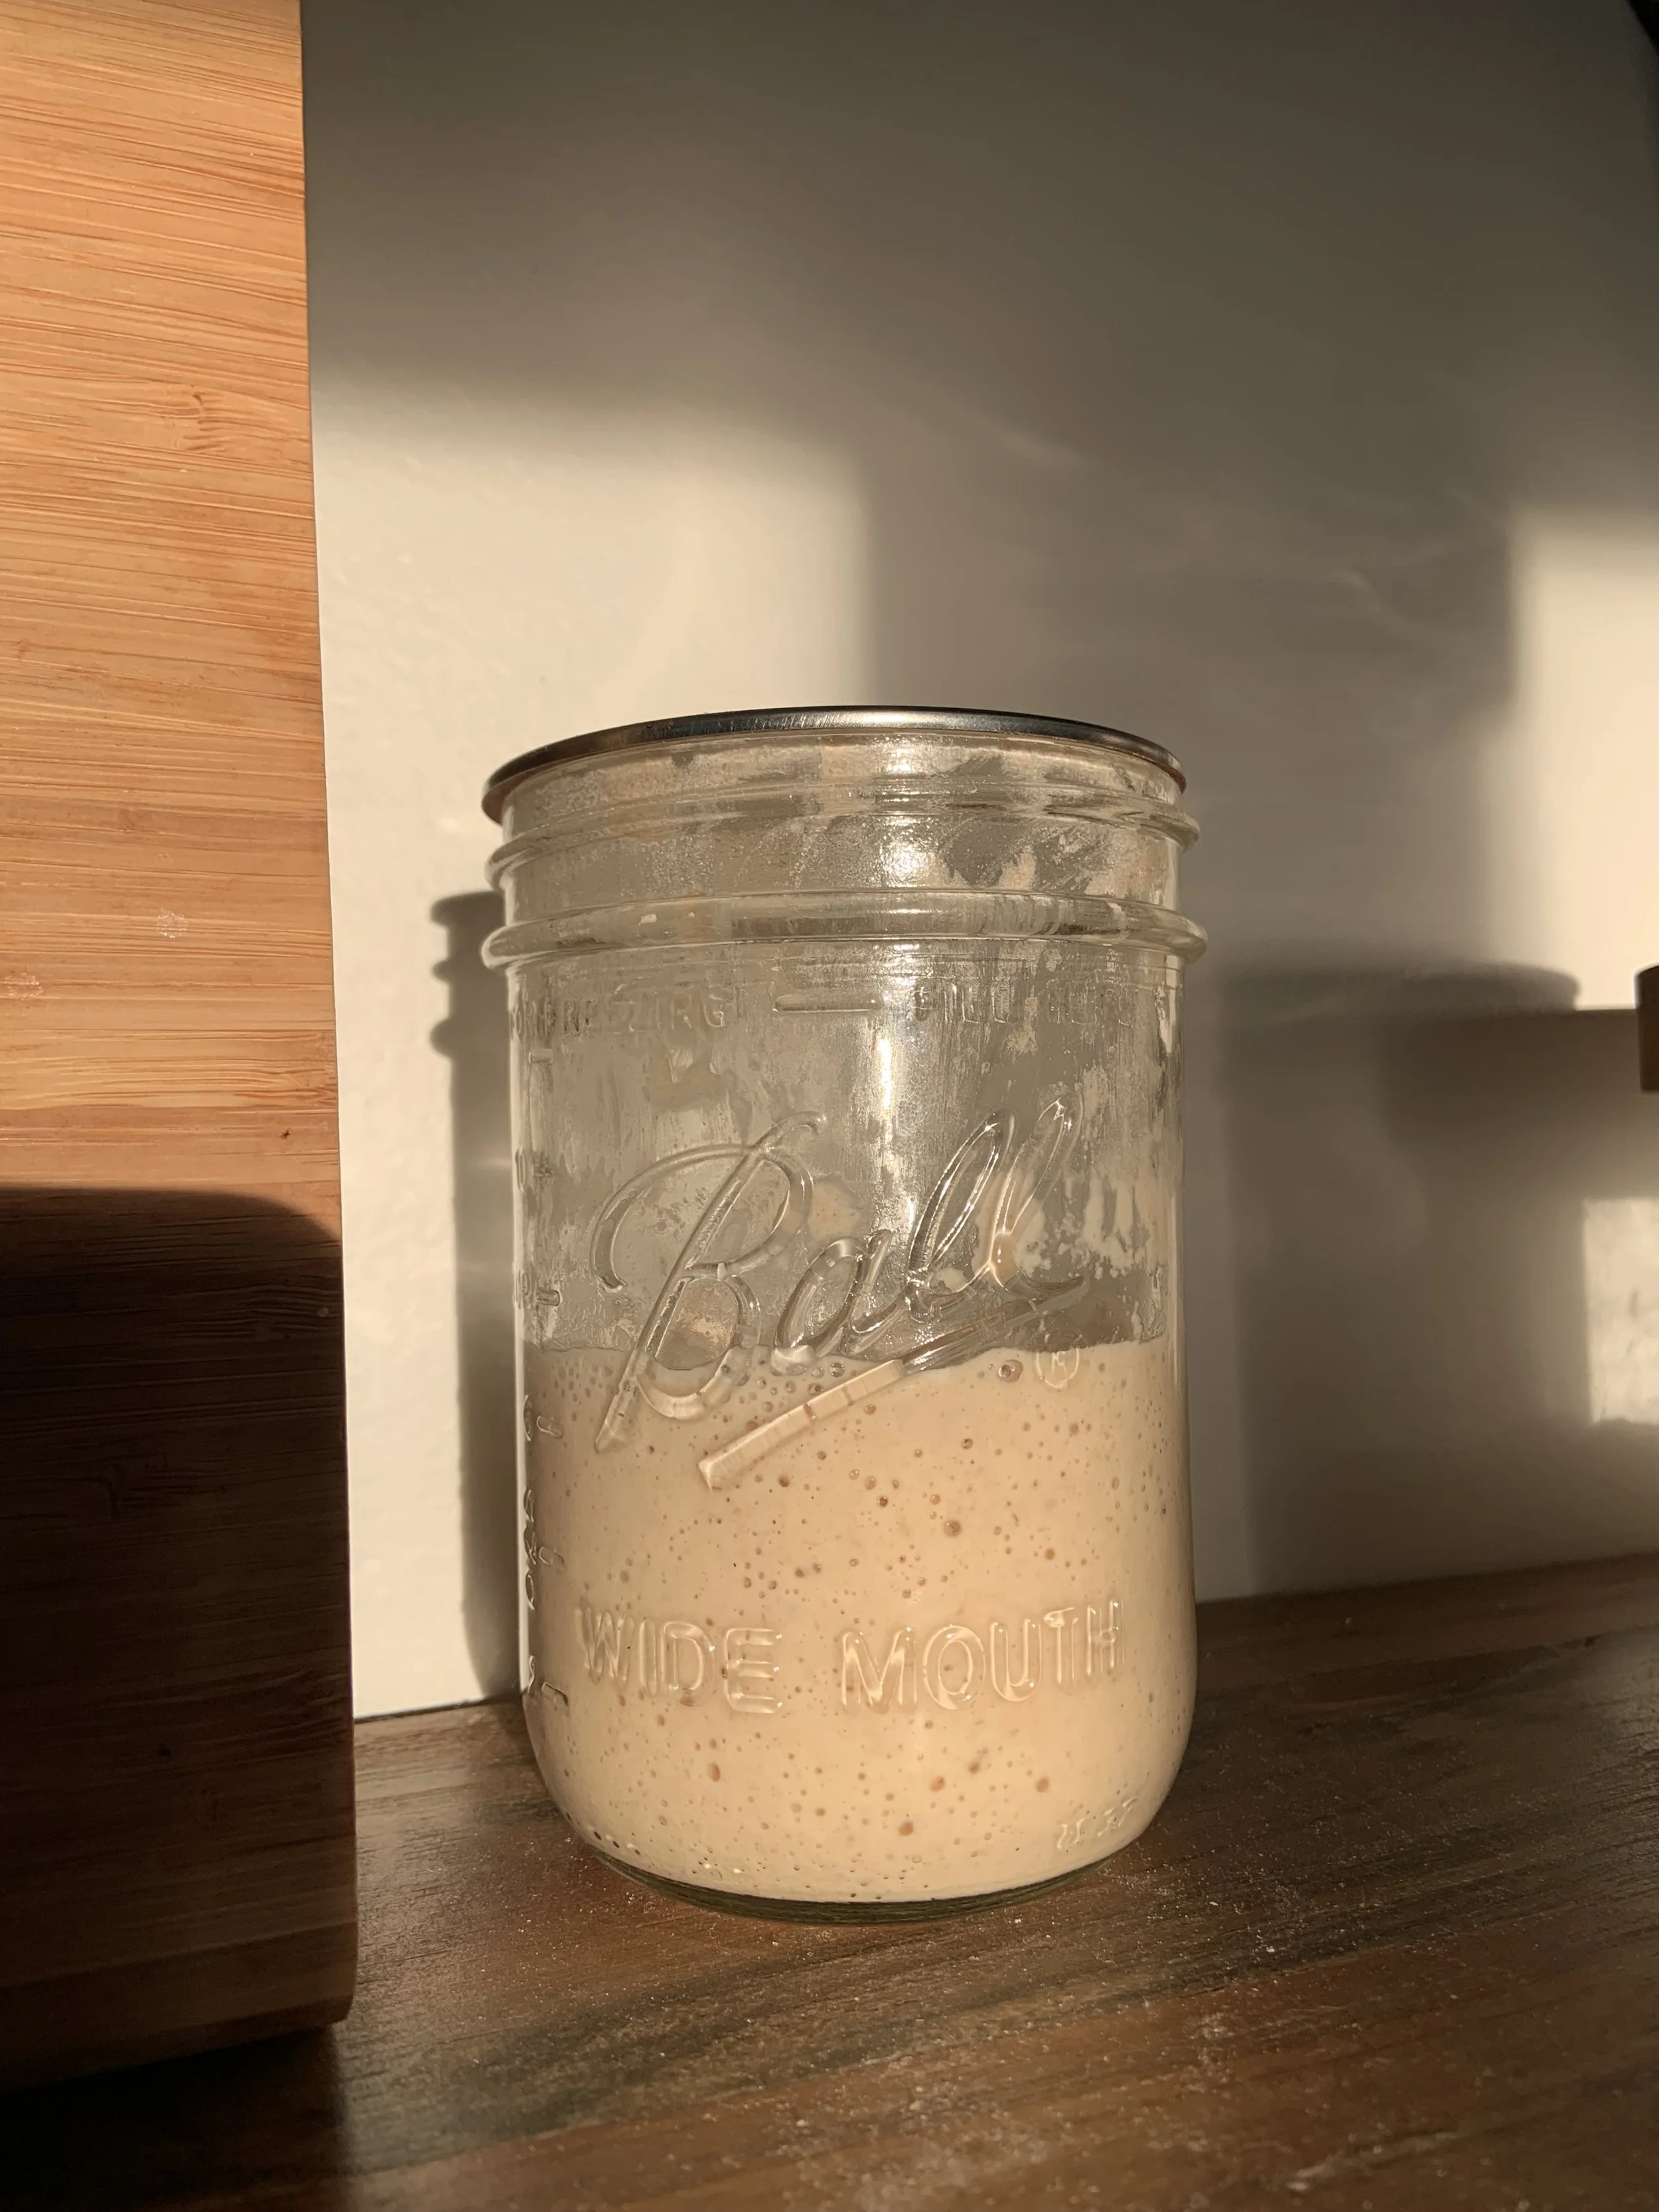
7. Your starter COULD be ready by day 8 if it is doubling in size!
8. Do not be discouraged if it’s not doubling in size, again, mine took 15 days the first time I was building a starter.
Once your starter is ready, you’re ready to make the Leaven!
What is leaven?
It’s basically the mixture you make from your starter that will be put into your dough. Same concept as making your starter, it just requires more starter discard in the recipe!
Leaven Ingredients:
100 grams lukewarm filtered water
50 grams healthy, active starter (not freshly fed, use a hungry starter to make sure it’s mature enough)
50 grams whole-wheat flour
50 grams bread flour
If I’m going to make my dough starting in the morning, I make sure to make my Leaven the night before. This way it has overnight to double in size and ferment.
Time to Mix Your Dough!
Dough Recipe:
200 grams leaven
750 grams of warm water (roughly 80°F) (save 50 grams of water for later on)
900 grams of bread flour
100 grams of whole-wheat flour
22 grams of salt (fine)
Instructions:
Video Instructions are on my Instagram Highlights
using your scale, weight out 700 grams of warm filtered water, add in 200 grams of leaven. The remainder of your leaven is now your new starter. Feed it as you normally would.
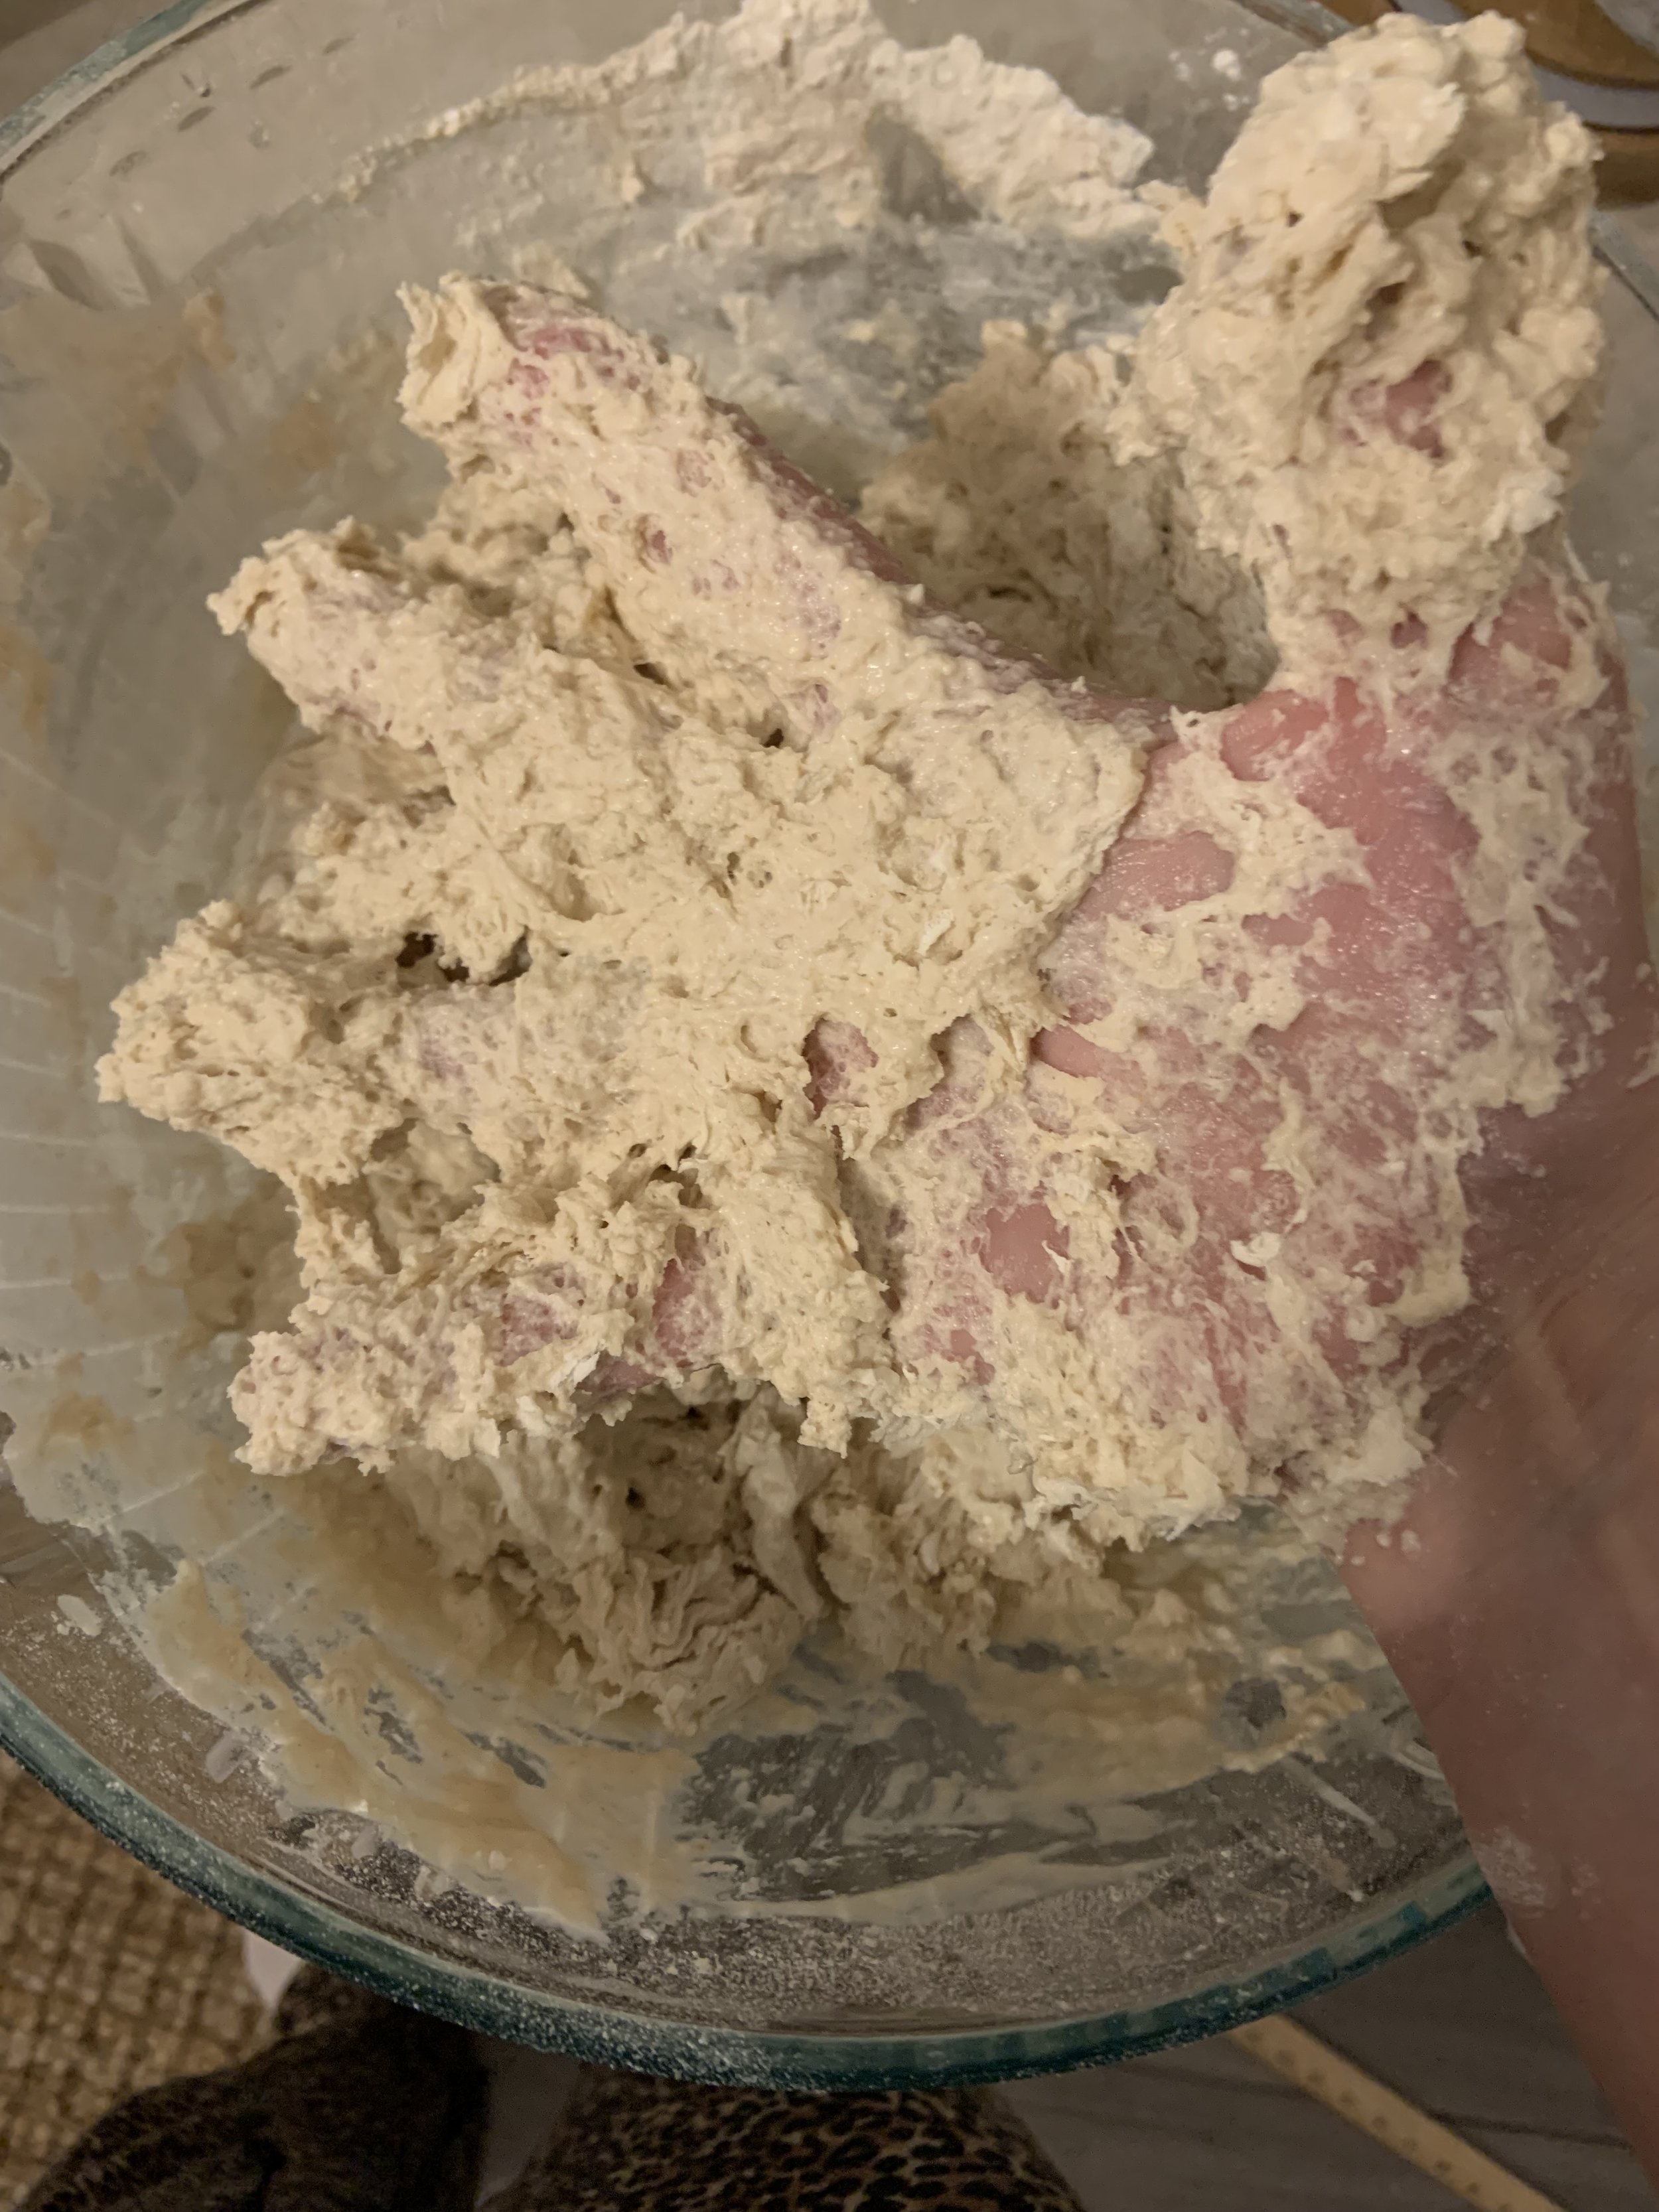
Add in both flours. Mix well!
Cover the bowl for 30 min to allow it to autolyse, all the flours are absorbing the water here and activating the gluten.
Sprink salt and the remaining 50 grams of water. Poke holes into your dough to really get the salt in there.
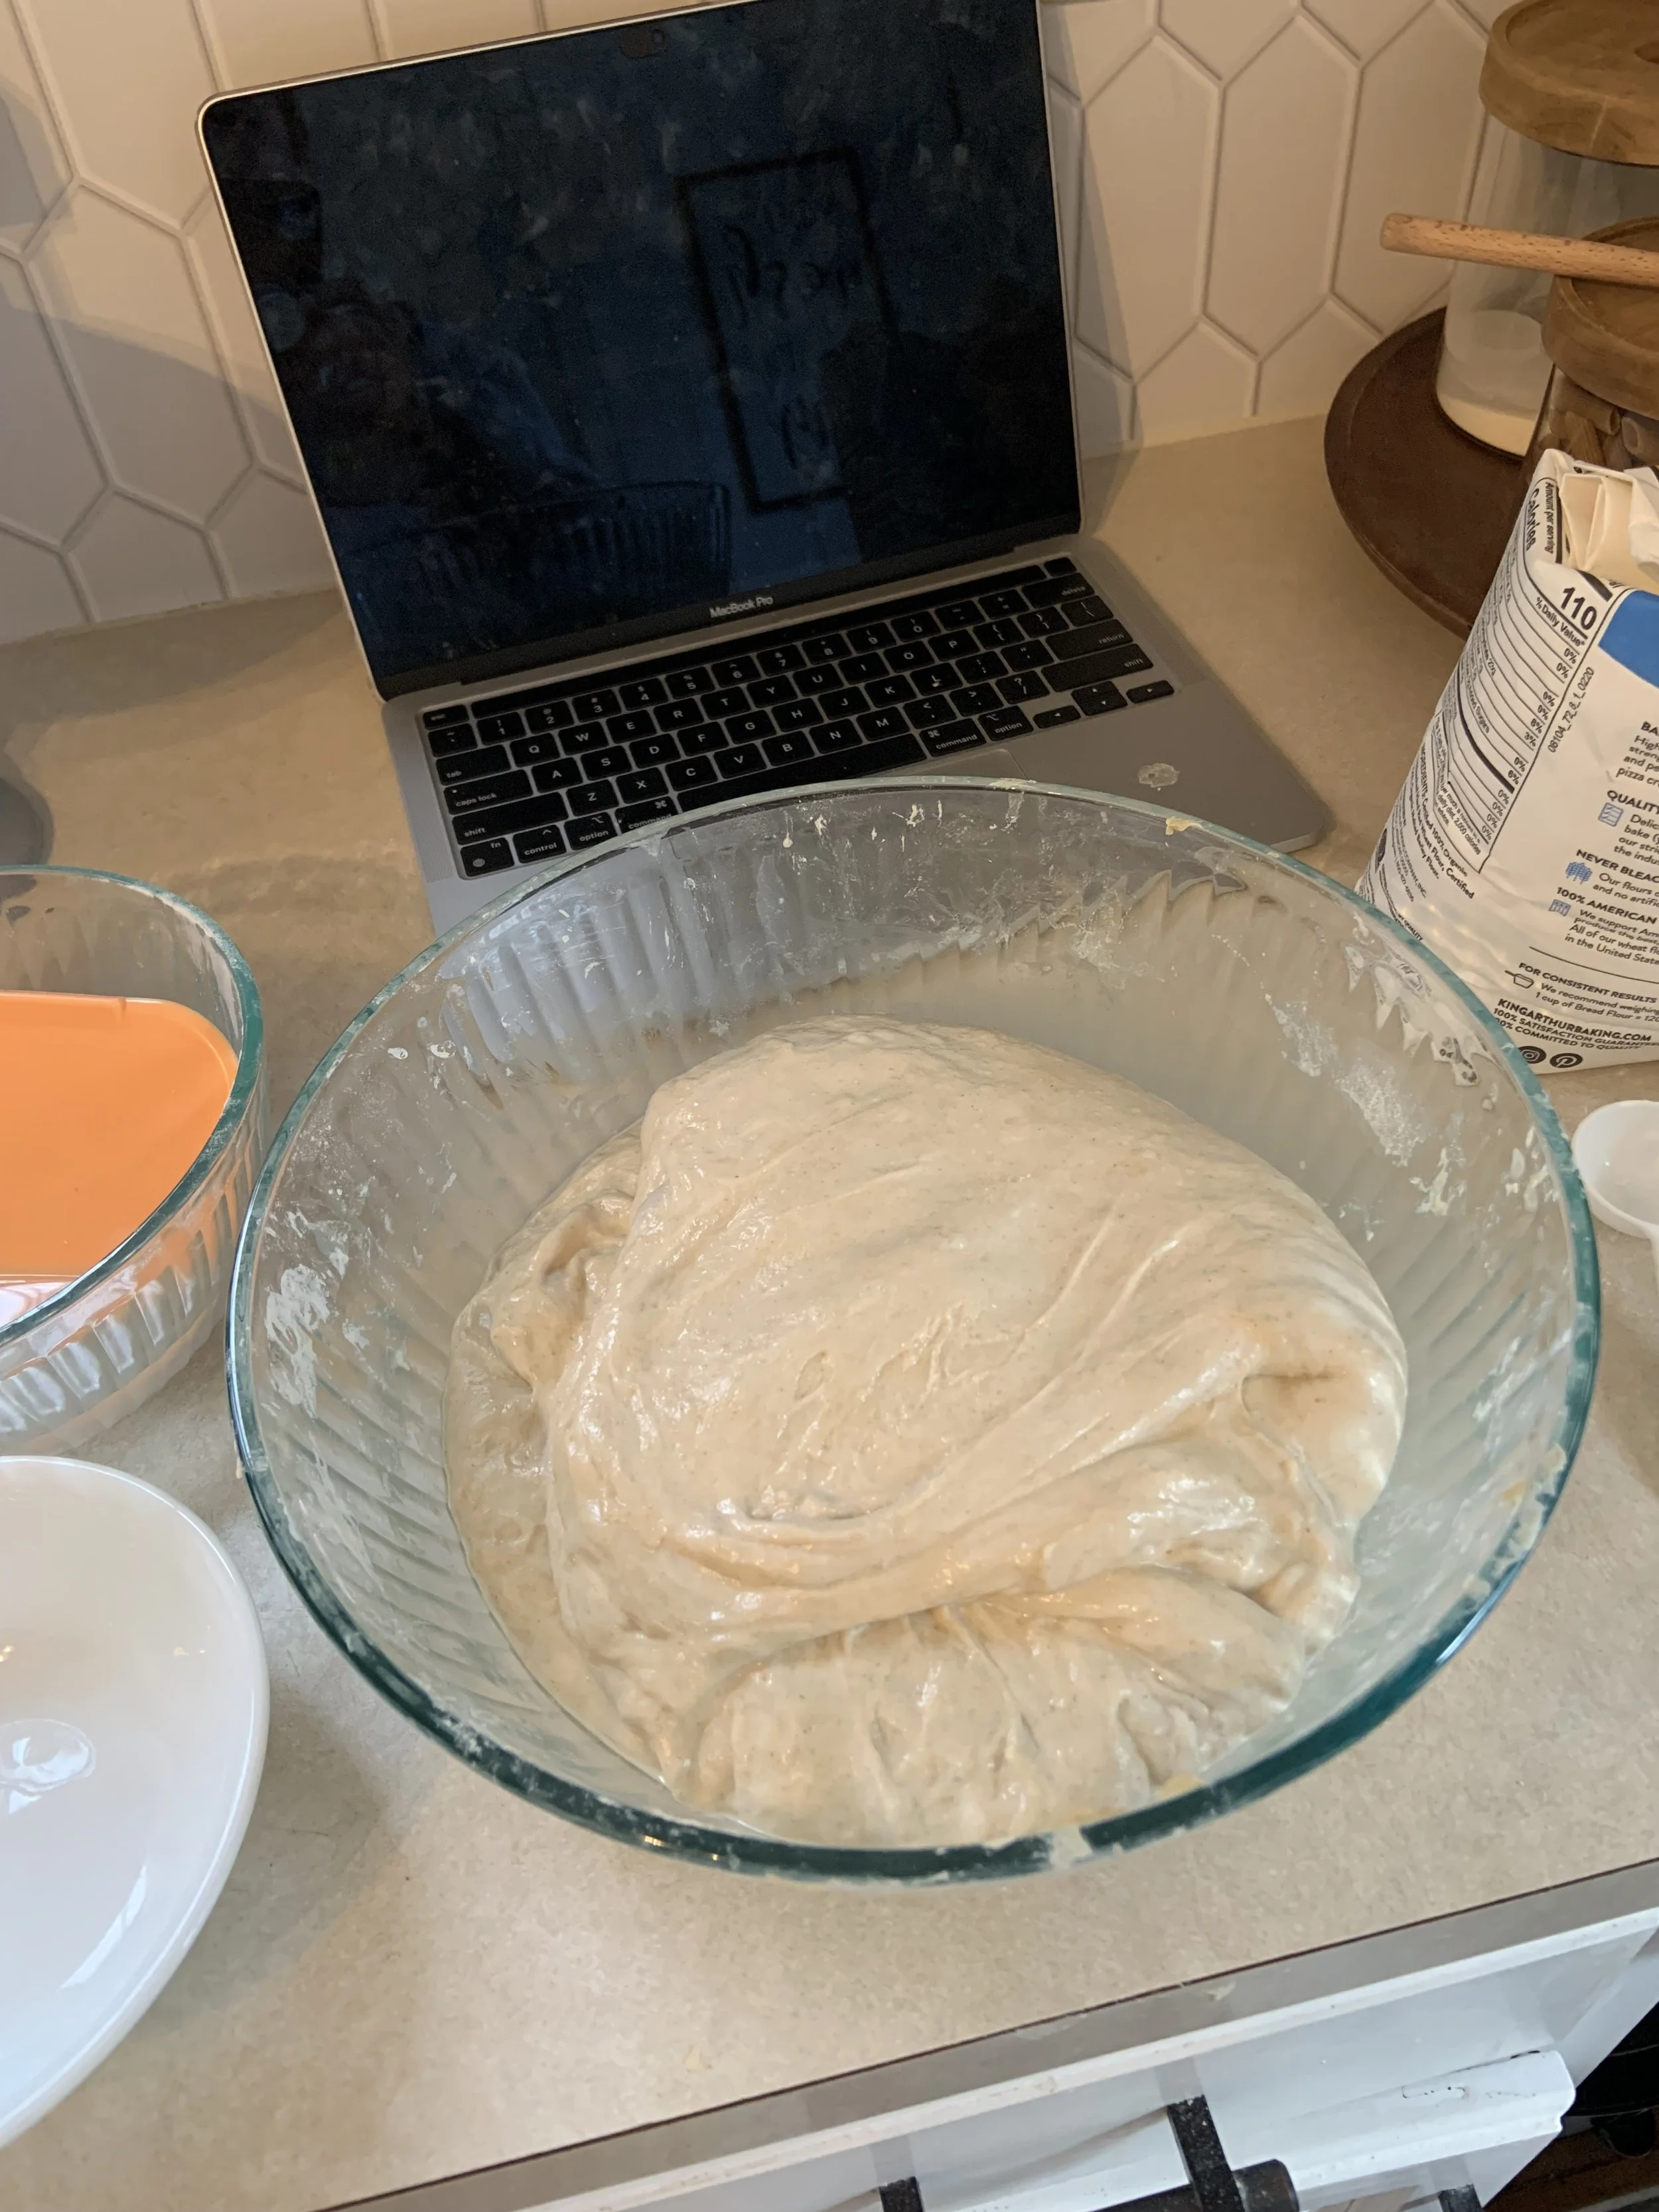
Now this is the start of the bulk fermentation, which takes 4 hours. Every half hour, you’re going to fold the dough. folding is best for the natural gases to be kept in the dough as opposed to kneading.
Be sure to dip your hands in water because it does get sticky! grab your dough and pull it to fully fold over itself. Start east to west and then make your way around. Let sit for 30 min.
Repeat step 6 3 more times.
Let your dough sit for 1.5 hours - 2 hours. I normally let it sit for 2.
Once the 2 hours is up, bulk fermentation is over. Pull your dough onto a floured work surface. Be sure to use your bread spatular or pastry scraper because of how sticky it is. I cut the dough in half to make 2 loaves.
Now it’s time to pre-shape. Same as you did with the bulk fermentation folds, but this time start from west to east, then rotate it 90°. Do the same for the other loaf. Cover with a linen towel and let sit again for 30 min.
Give each loaf one more round of folding. Starting West-East and rotate 90°. Then flip the loaf over so that the seam side is down. Use the bench knife to help tuck the dough under itself and make a knot on the bottom as the dough is starting to tighten.
Line your proofing baskets with flour and place the loaves in the baskets with the seam facing UP.
The is the beginning of the final rise. I place them covered with processing caps over the baskets in the fridge and let them rise over night 8-12 hours.
Bake Day!
Set your oven WITH the dutch oven inside for 500°F. (I also place a baking sheet under on the rack below the dutch oven to prevent the bottom of my bread from burning or browning too quickly.) Let your baking vessel sit for an additional 15 min in the 500° temperature. While this is happening, get your parchment paper ready and take the first loaf out of the fridge.
Score your loaves with a lame or razor blade. Lightly dust your loaves
Be sure to use heavy duty oven mitts when removing the lid of your baking vessel. Place loaf inside and cover with the lid.
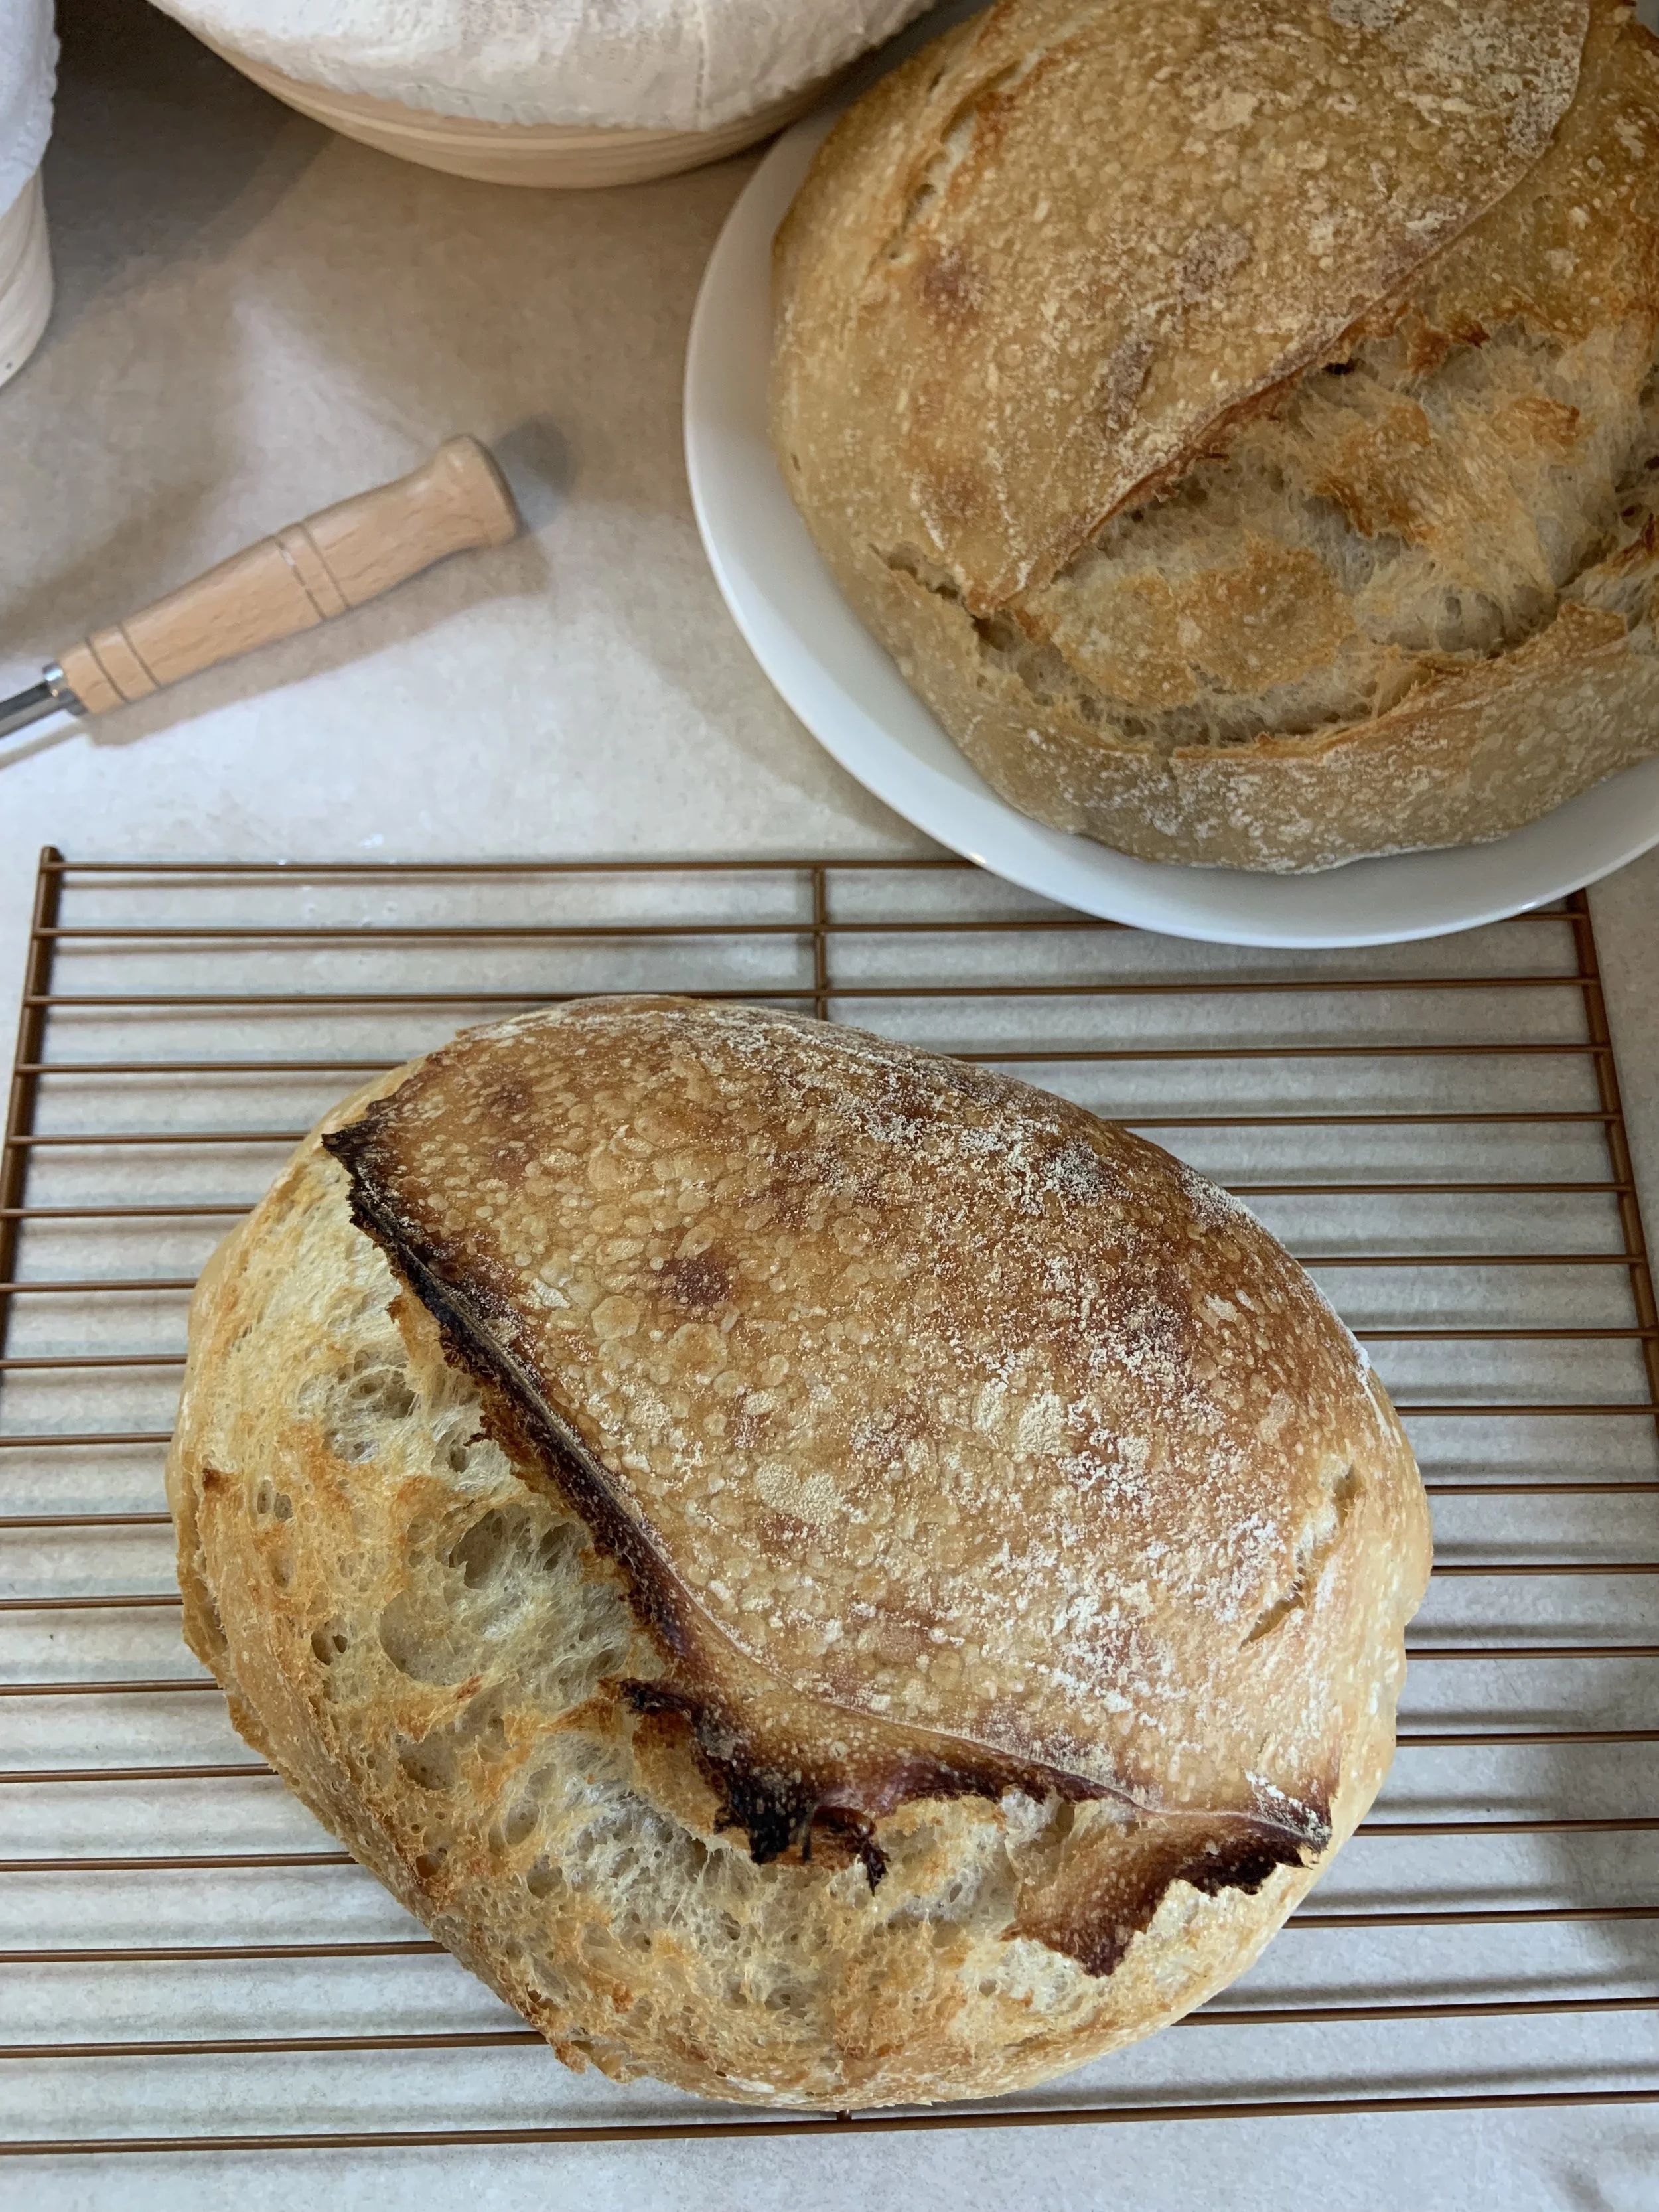
Bring the temperature down to 475°F and set your timer for 30 min. (Heather’s recipe calls to remove the lid for the last 15 min. I don’t do that anymore because I didn’t like how dark my bread got). I bake for around 40 min or until the internal temp is around 210°F.
Once the first loaf is done, take it out and place on a cooling rack.
Bump your oven back up to 500°F. Place the lid on the baking vessel again. Follow the same steps for loaf #2!